Sitecore MVC Project creation
Introduction:
In this post we will integrate an ASP.Net MVC application with Installed Sitecore Instance. This should be simple and straight forward mechanism.
Background:
I have a site that is up and running after installation as shown below.
fig-1
Now we will create an ASP.Net MVC Empty Application from Visual Studio.
fig-2
Search for ASP.Net MVC and then select application without core as shown below.
fig-3
Given the name as you prefer for this Application but I would suggest to keep the name similar to your Sitecore Web instance.
fig-4
Now select MVC blank and click create.
fig-5
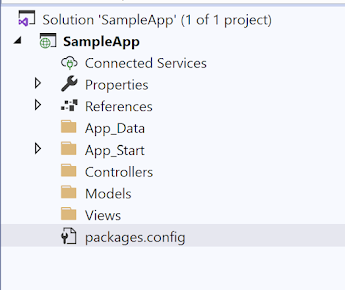
Once your a re done creating the application it will look like this.
fig-6
As we know from Sitecore, Global.asax file is been provided by Sitecore while installation, thus, we need not need this one. We will delete this file. Similarly Web config files we will delete them as well.
fig-7
fig-8
Now go to your Sitecore Installed Instance and check the Version of Sitecore. I my case it is as shown below,
Go to Visual studio and add Sitecore.Karnel, Sitecore.Mvc and Sitecore.Analytics for the same version via Nuget package manager.
Note: Please create a copy of your local instance folder before doing any change.
fig-10
Right click on your Project Name and select Nuget Package manager.
fig-11


Comments
Post a Comment